It is amazing how much time I have now that the wedding is over. I finally have time to tackle some projects that I have avoided. I know this is the food blog, but I don't want to start another blog to write about non-cooking topics, so please be ok with this. I hope that you find non-food posts to be entertaining and perhaps inspiring. For my first newlywed project, I made curtains because I promised Charles that I would make curtains years ago.
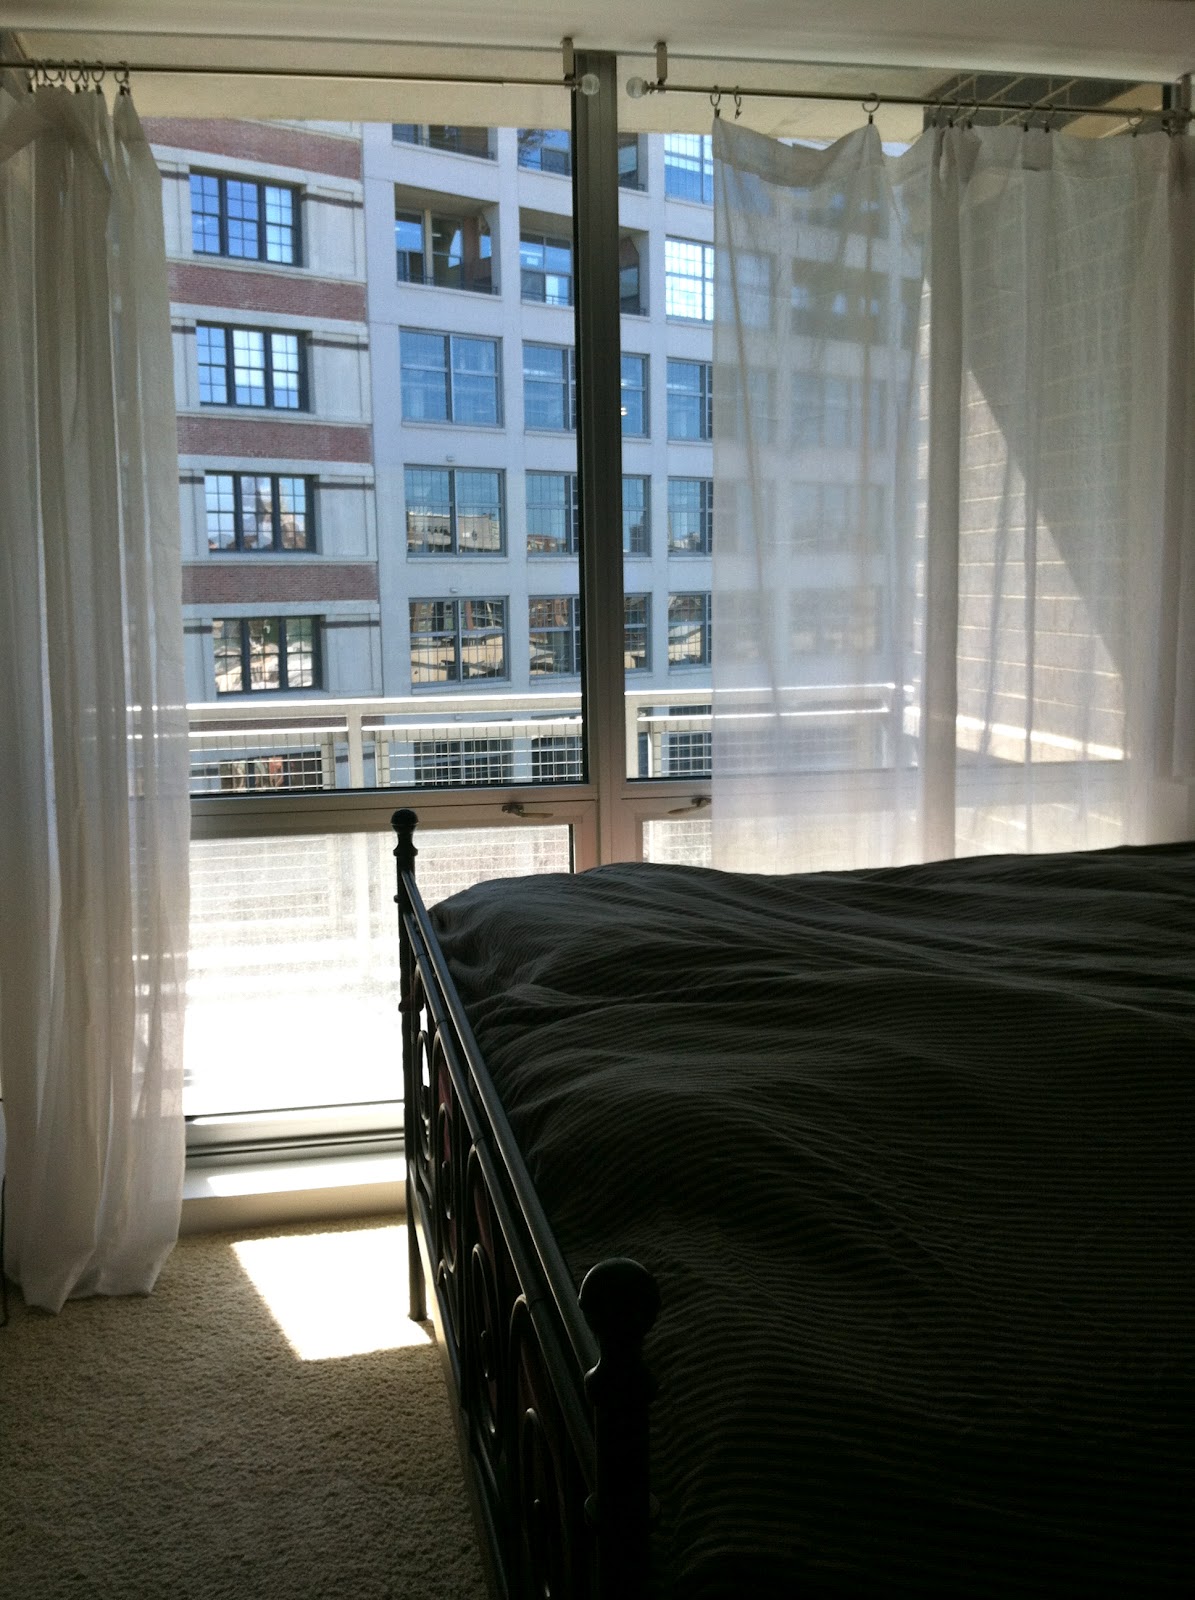
Here is the problem, when entire walls of your condo are windows, window treatments get expensive. Curtains can be surprisingly pricy, especially if you want curtains that will actually block out the light and are not sheer. We would have needed at least 4 panels for the living room and at least another 2 for the bedroom, and we didn't want to spend hundreds of dollars on curtains. I thought that I could make curtains and solve the problem - but fabric is expensive too.
Finally I found inspiration online. I discovered that people have successfully used drop cloths to make curtains. Drop cloths can be purchased for about $10-$15 at the hardware store, and are already hemmed. You can also paint the drop cloths to match you decor. They are made of thick canvas so they will block out the sun. My mom said that she has made curtains out of sheets before which is another great idea, but keep in mind that my mother went to school for fashion design and can sew very well. I wanted the easiest and cheapest solution out there. I did lots of research online before I began this project and suggest checking out this blog and this blog and this blog for more information.
I found some instructions online - but none of them gave really detailed instructions. Here is a complete step by step and list of supplies needed.
Total Cost: $115
Total Time: 5 hours
Step 1:
Measure the height and width of your windows. You will want your curtains to be full so make sure you measure to the floor, and add extra width to your measurements.
Step 2:
Decide on a design and paint color. Charles and I decided thick evenly spaced charcoal stripes for the living room to match our couch. I took one of the pillows to Home Depot so I could get matching paint. We chose navy stripes for the bedroom to match our new bedding. A note on paint: even though you are painting fabric, do not buy fabric paint because the drop cloths will absorb a lot of paint and buying paint by the gallon and adding fabric medium will cost you less.
Step 3:
Purchase materials. Did you know that you can shop online on Home Depot and then pick up in store?
You will need:
Thick Painters Tape
 Canvas Drop Cloths
Plastic Drop Cloths
Paint (I used one Gallon of Latex Paint)
4 inch Paint Roller
Paint Dish
2 bottles Fabric Medium (from an Art store)
Colored Paper
Step 4:
Prewash the drop cloths. Washing and drying will get all the wrinkles out. The drop cloths with also shrink a significant amount so if you do not want the drop cloth to shrink, iron it instead.
Step 5:
Cut and hem the drop cloth to size if necessary. The drop cloths come hemmed, so I was lucky enough just to have to hem one edge per curtain.
Step 6:
Prepare your workspace with the plastic drop cloth.
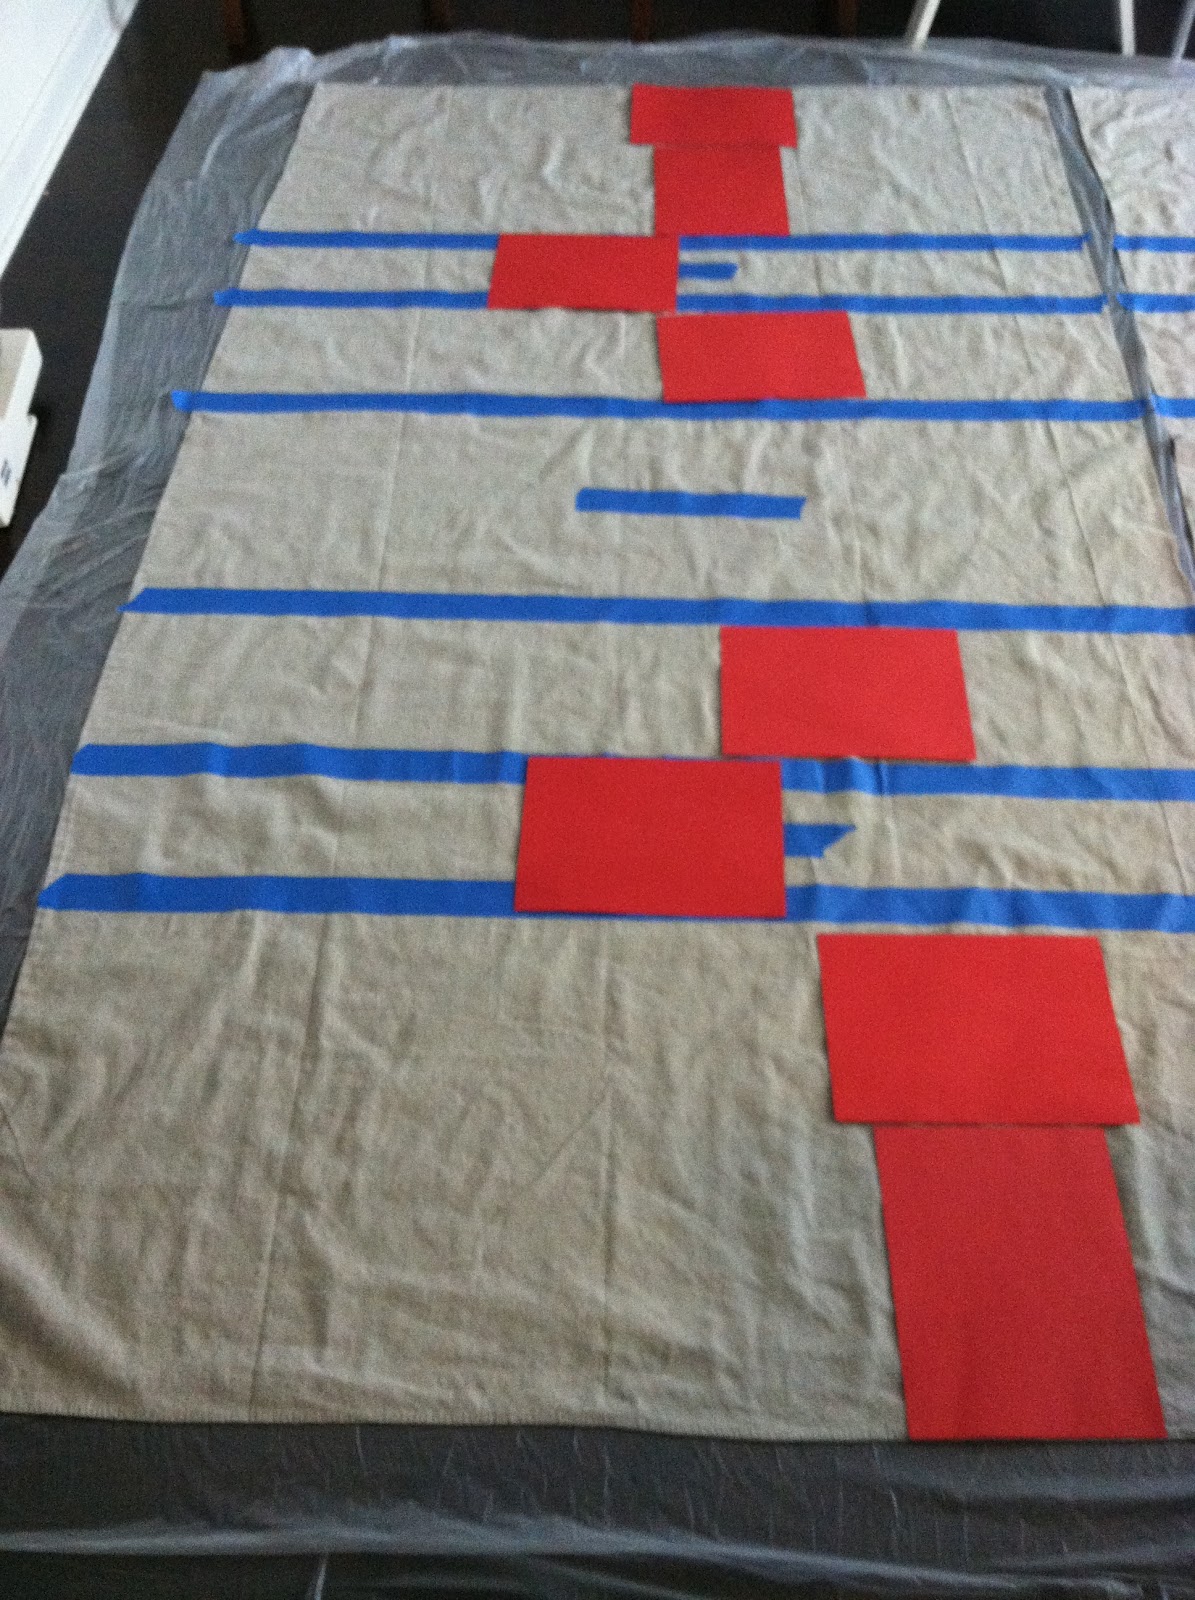
Step 7:
Decide how you are going to paint your drop cloth. I decided on stripes. I realized that the easiest way to tape my stripes would be to make a template with colored paper. This saved a lot of time. Make sure that you really press the tape down. If you do this the paint will not bleed through. It is also important to carefully tape out your design. When you are measuring be aware that the tape needs to be included in the measurements for the non-painted stripes, and not included in the measurements for the painted stripes.

Step 8:
Mix 2 parts paint with 1 part fabric medium in the paint dish. Adding the fabric medium will prevent the paint from getting crusty.
Step 9:
Use a paint roller to paint the drop cloth. The drop cloth will absorb a lot of paint.
Step 10:
Let the paint dry for about half a day. Once dry remove the tape and hang the curtains.

Overall thoughts: I made curtains for both the living room and the bedrooms. I would have needed to buy 6 curtain panels, which probably would have costs at least $250. When I was researching this project online lots of people said that their total cost for the project was about $30-$40. Some people used leftover paint to keep their costs down.
My total cost was about $115.
Paint $30
Paint Medium $30
Drop Cloths $40
Paint Roller, Paint Dish, Plastic Drop Cloths, Tape $15
I spent $30 on a gallon of paint which would have been enough for all the curtains, but I got navy paint for the bedroom to mix things up. I actually got the navy paint for free because it was free paint day at Ace Hardware.