After wallpapering four spaces in my new home, I am sharing what you need to know about installing peel and stick wallpaper before you commit to a project.
Overall, I would say that peel and stick wallpaper can be a challenge. While it is mess-free, lining up the patterns can be difficult. You should consider how straight/level your walls are. We are in a new construction home and it was still a tough project. Our walls were freshly painted and ready to go - you may want to clean or prime your walls first. And be sure to check for any spots that need to be sanded down.
We used wallpaper for accent walls. On average each wall took about 3 hours.
What to Know about Installing Peel and Stick Wallpaper:
Good Enough Isn't Good Enough:
The first strip of wallpaper needs to be as perfect as possible. You are setting yourself up for disaster if you don't hang it straight.
Consider Centering It:
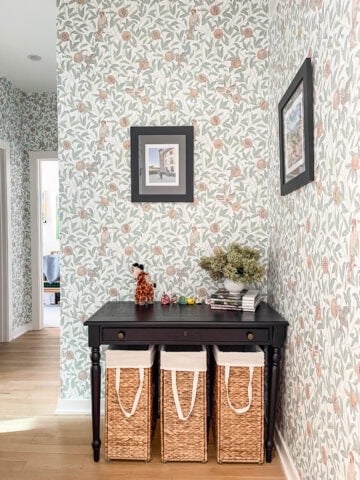
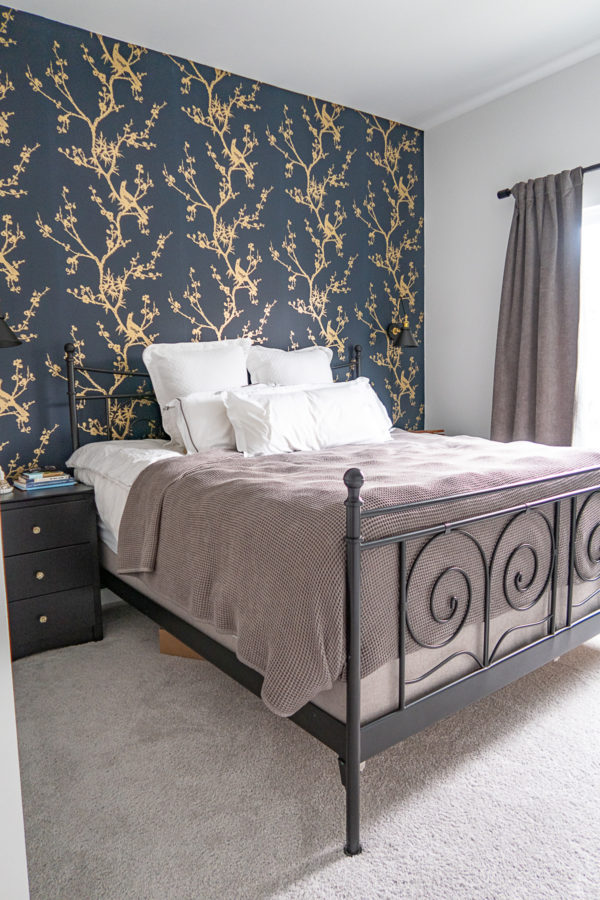
The instructions don't mention this, but, in some cases, the wallpaper looks best if it is centered. I think that this is especially true if the wallpaper has a large pattern or if the space is smaller. I think that the wallpaper in our bedroom looks better because we lucked out and it was nearly perfectly centered.
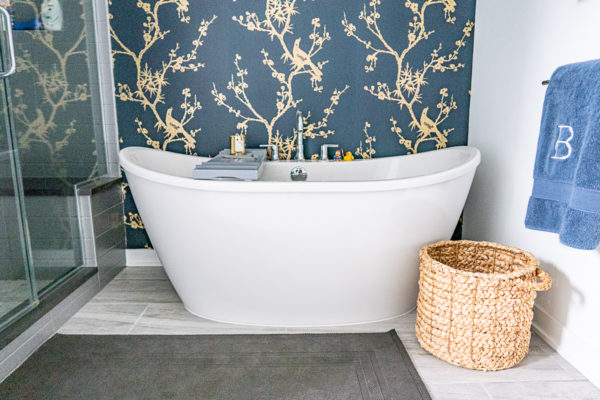
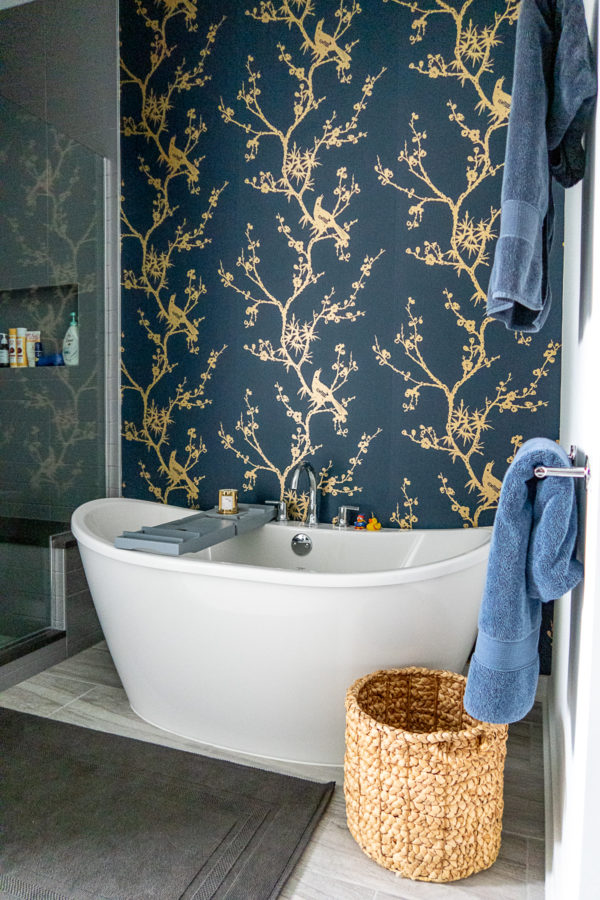
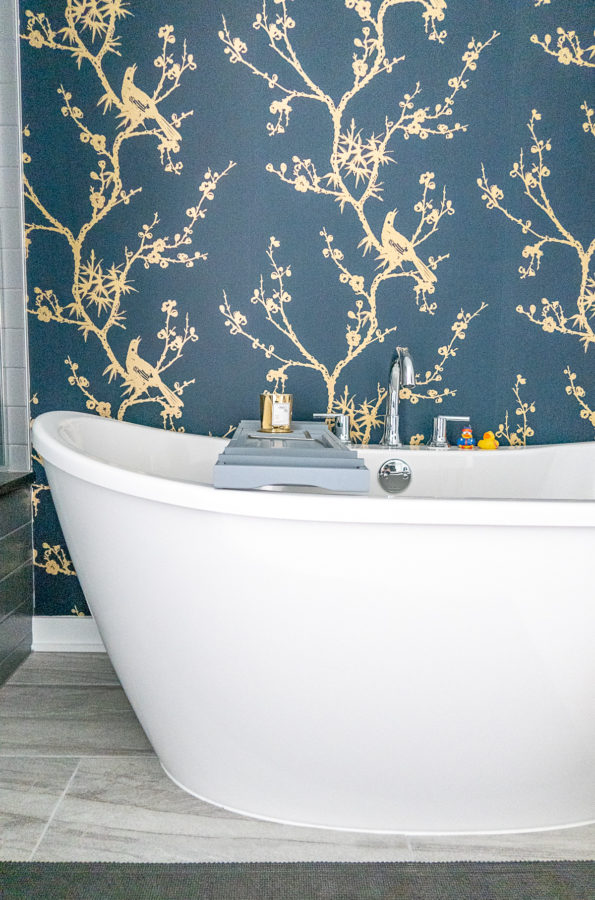
For our bathroom, I intentionally centered the wallpaper and hung the middle strip first.
Get a Ladder:
If you aren't able to easily reach the top of the ceiling, the project will be more difficult than it needs to be.
Pricier Wallpaper Doesn't Mean It Will Be Easier to Install:
We tried three different brands at three different price points and the level of difficulty has more to do with the size and complexity of the pattern than the price.
Smaller and More Complex Patterns Are Harder to Hang:
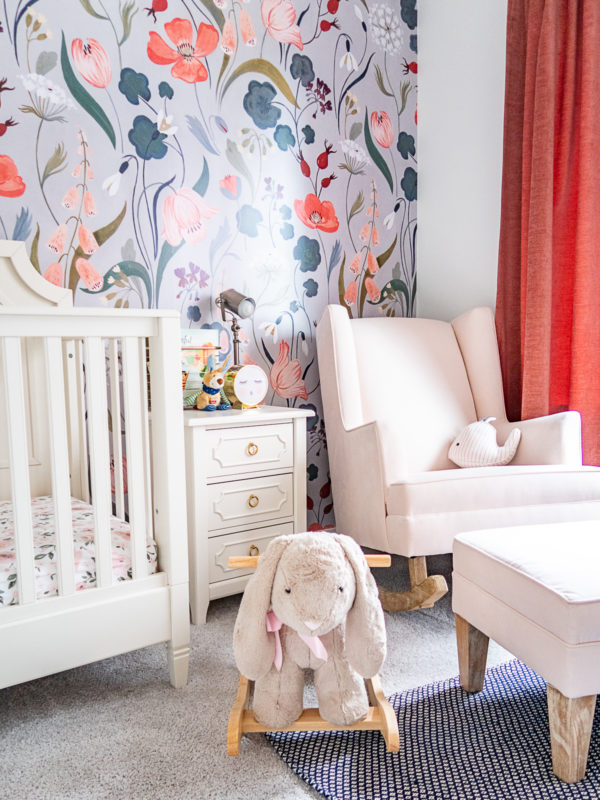
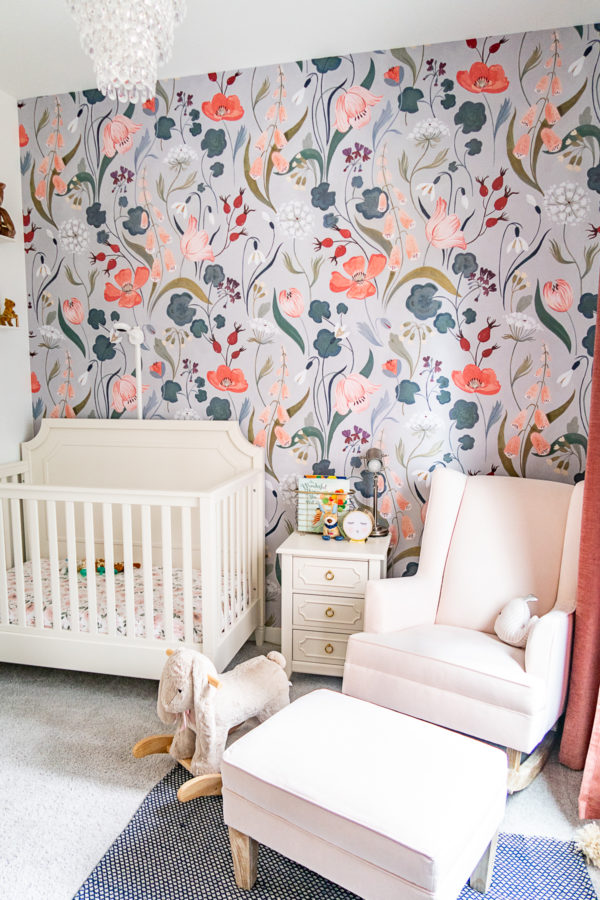
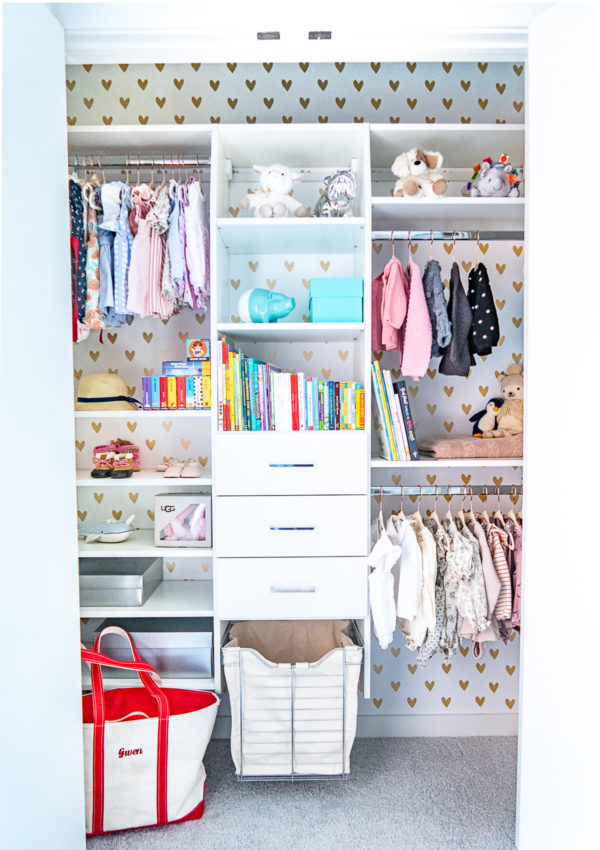
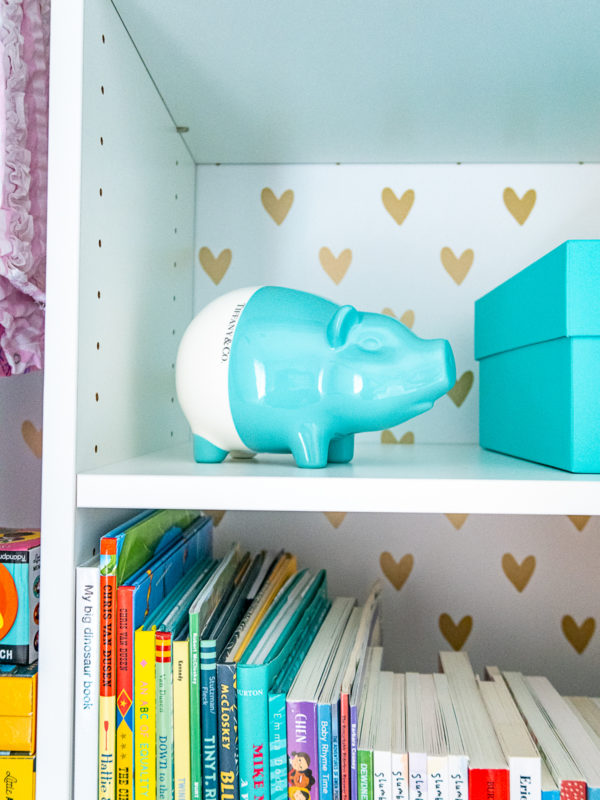
The wallpaper for Gwen's closet was the easiest. It has a white background and gold hearts. The white background gave us a little more room for error than the other wallpapers. The most challenging and most time-consuming wallpaper project was the wallpaper mural behind Gwen's crib. It has a complex pattern and lots of details that needed to be lined up perfectly.
Cut the Backing Off:
Instead of rolling the backing of the wallpaper down at first, use scissors and cut off about 6 inches of the backing. This makes it easier to line up the wallpaper.
Go Slow:
I found that peeling 4-6 inches of the backing at a time helped to prevent air bubbles.
It Can Be Repositioned, to a Point:
You can move and reposition peel and stick wallpaper, but you can only do it so many times before you create little divots and/or stretched out areas. Be especially careful to not pull on the sides too much.
The Wallpapers We Used:
Tempaper Bird Watching in Black and Gold - $125 per double roll (note: I would say it's midnight blue and gold, not black)
Anewall Blu Bell Mural - $439 for enough for a space that is 11 feet wide and 9 feet tall
RoomMates Heart Spot - $33.49 a roll
Highly Recommended Supplies:
Patience!
Wallpapering can be challenging and you need plenty of patience to do it right.
A Set of Supplies from Amazon
This set has squeegees, a measuring tape, a vinyl cutter, and a xacto knife.
A Metal Putty Knife
I found that this is the best tool to use as a guide to trim the edges of the wallpaper after it has been hung. I would hold the putty knife in my non-dominant hand and the xacto knife in the other. I would start at the edge and slowly move the putty knife and the xacto knife cutting the excess wallpaper. I thought it was the easiest way to get a straight line.

See More of Our Home:
Our Kitchen Design
Gwen's Nursery
Our Pantry
Our Primary Bedroom