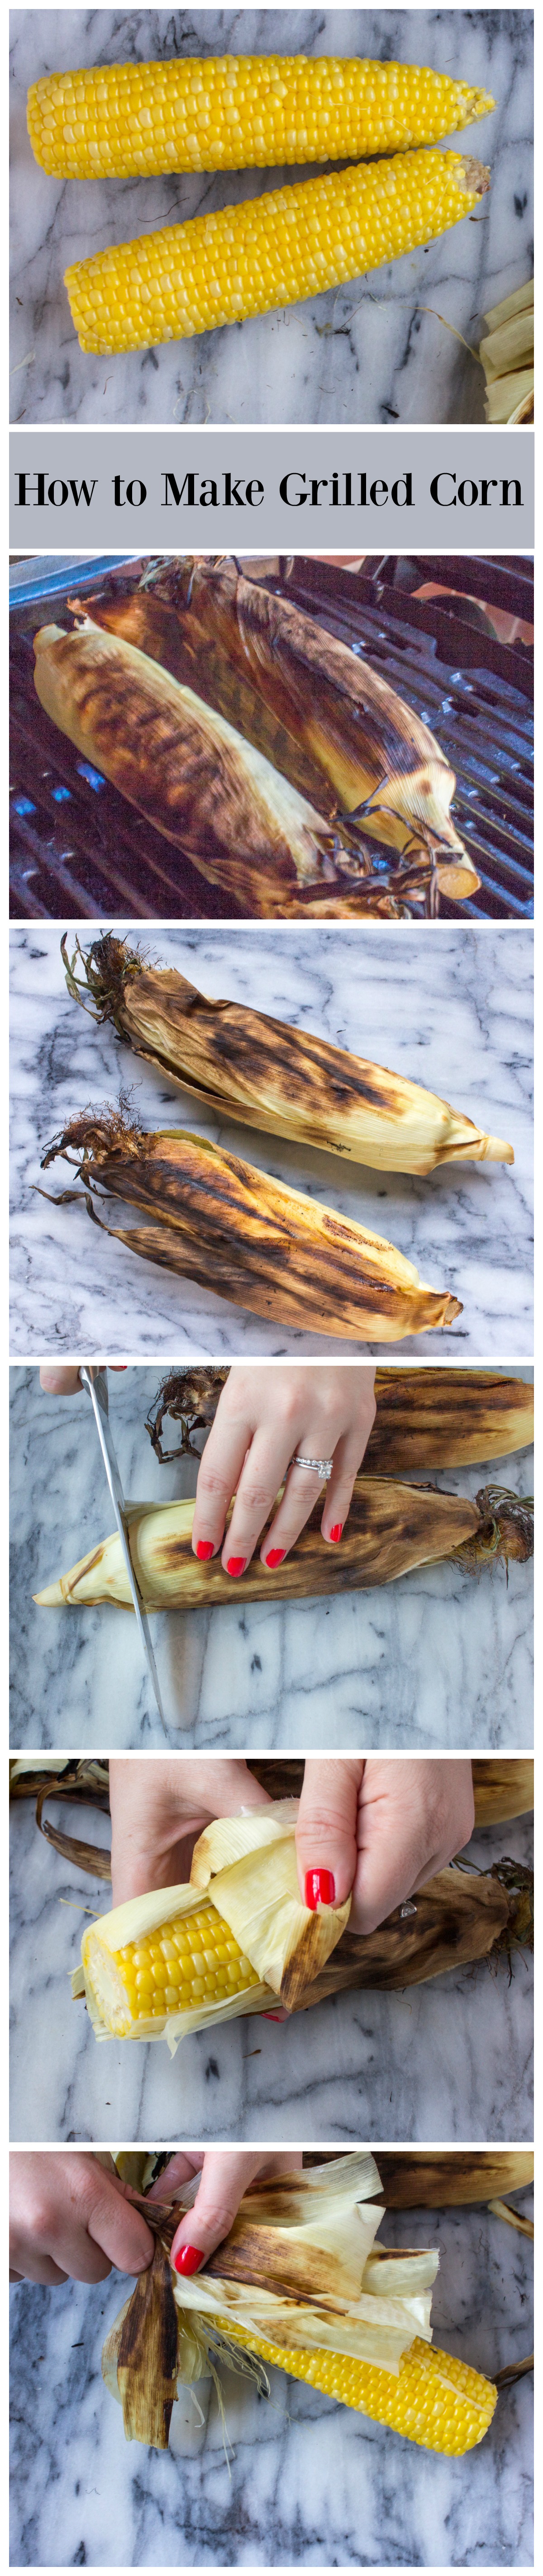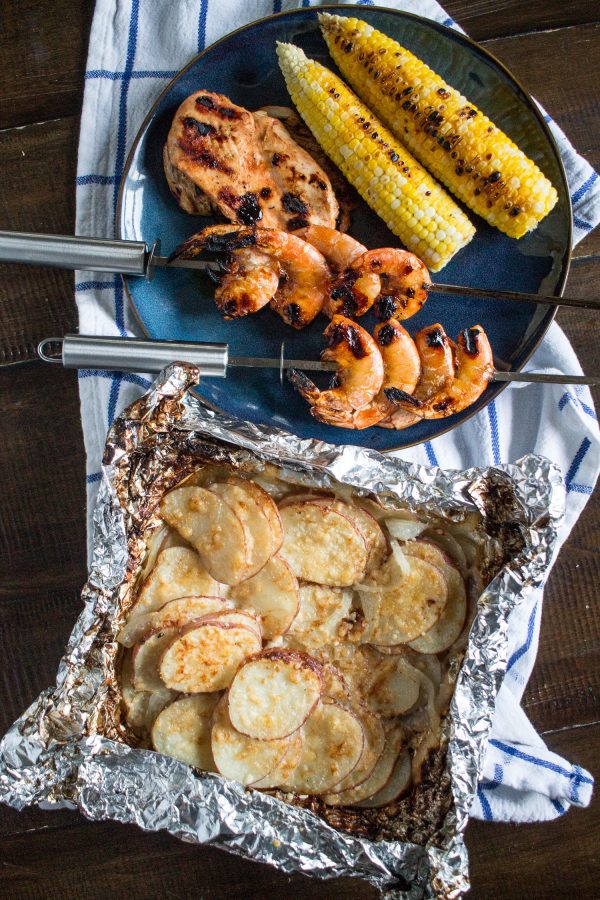
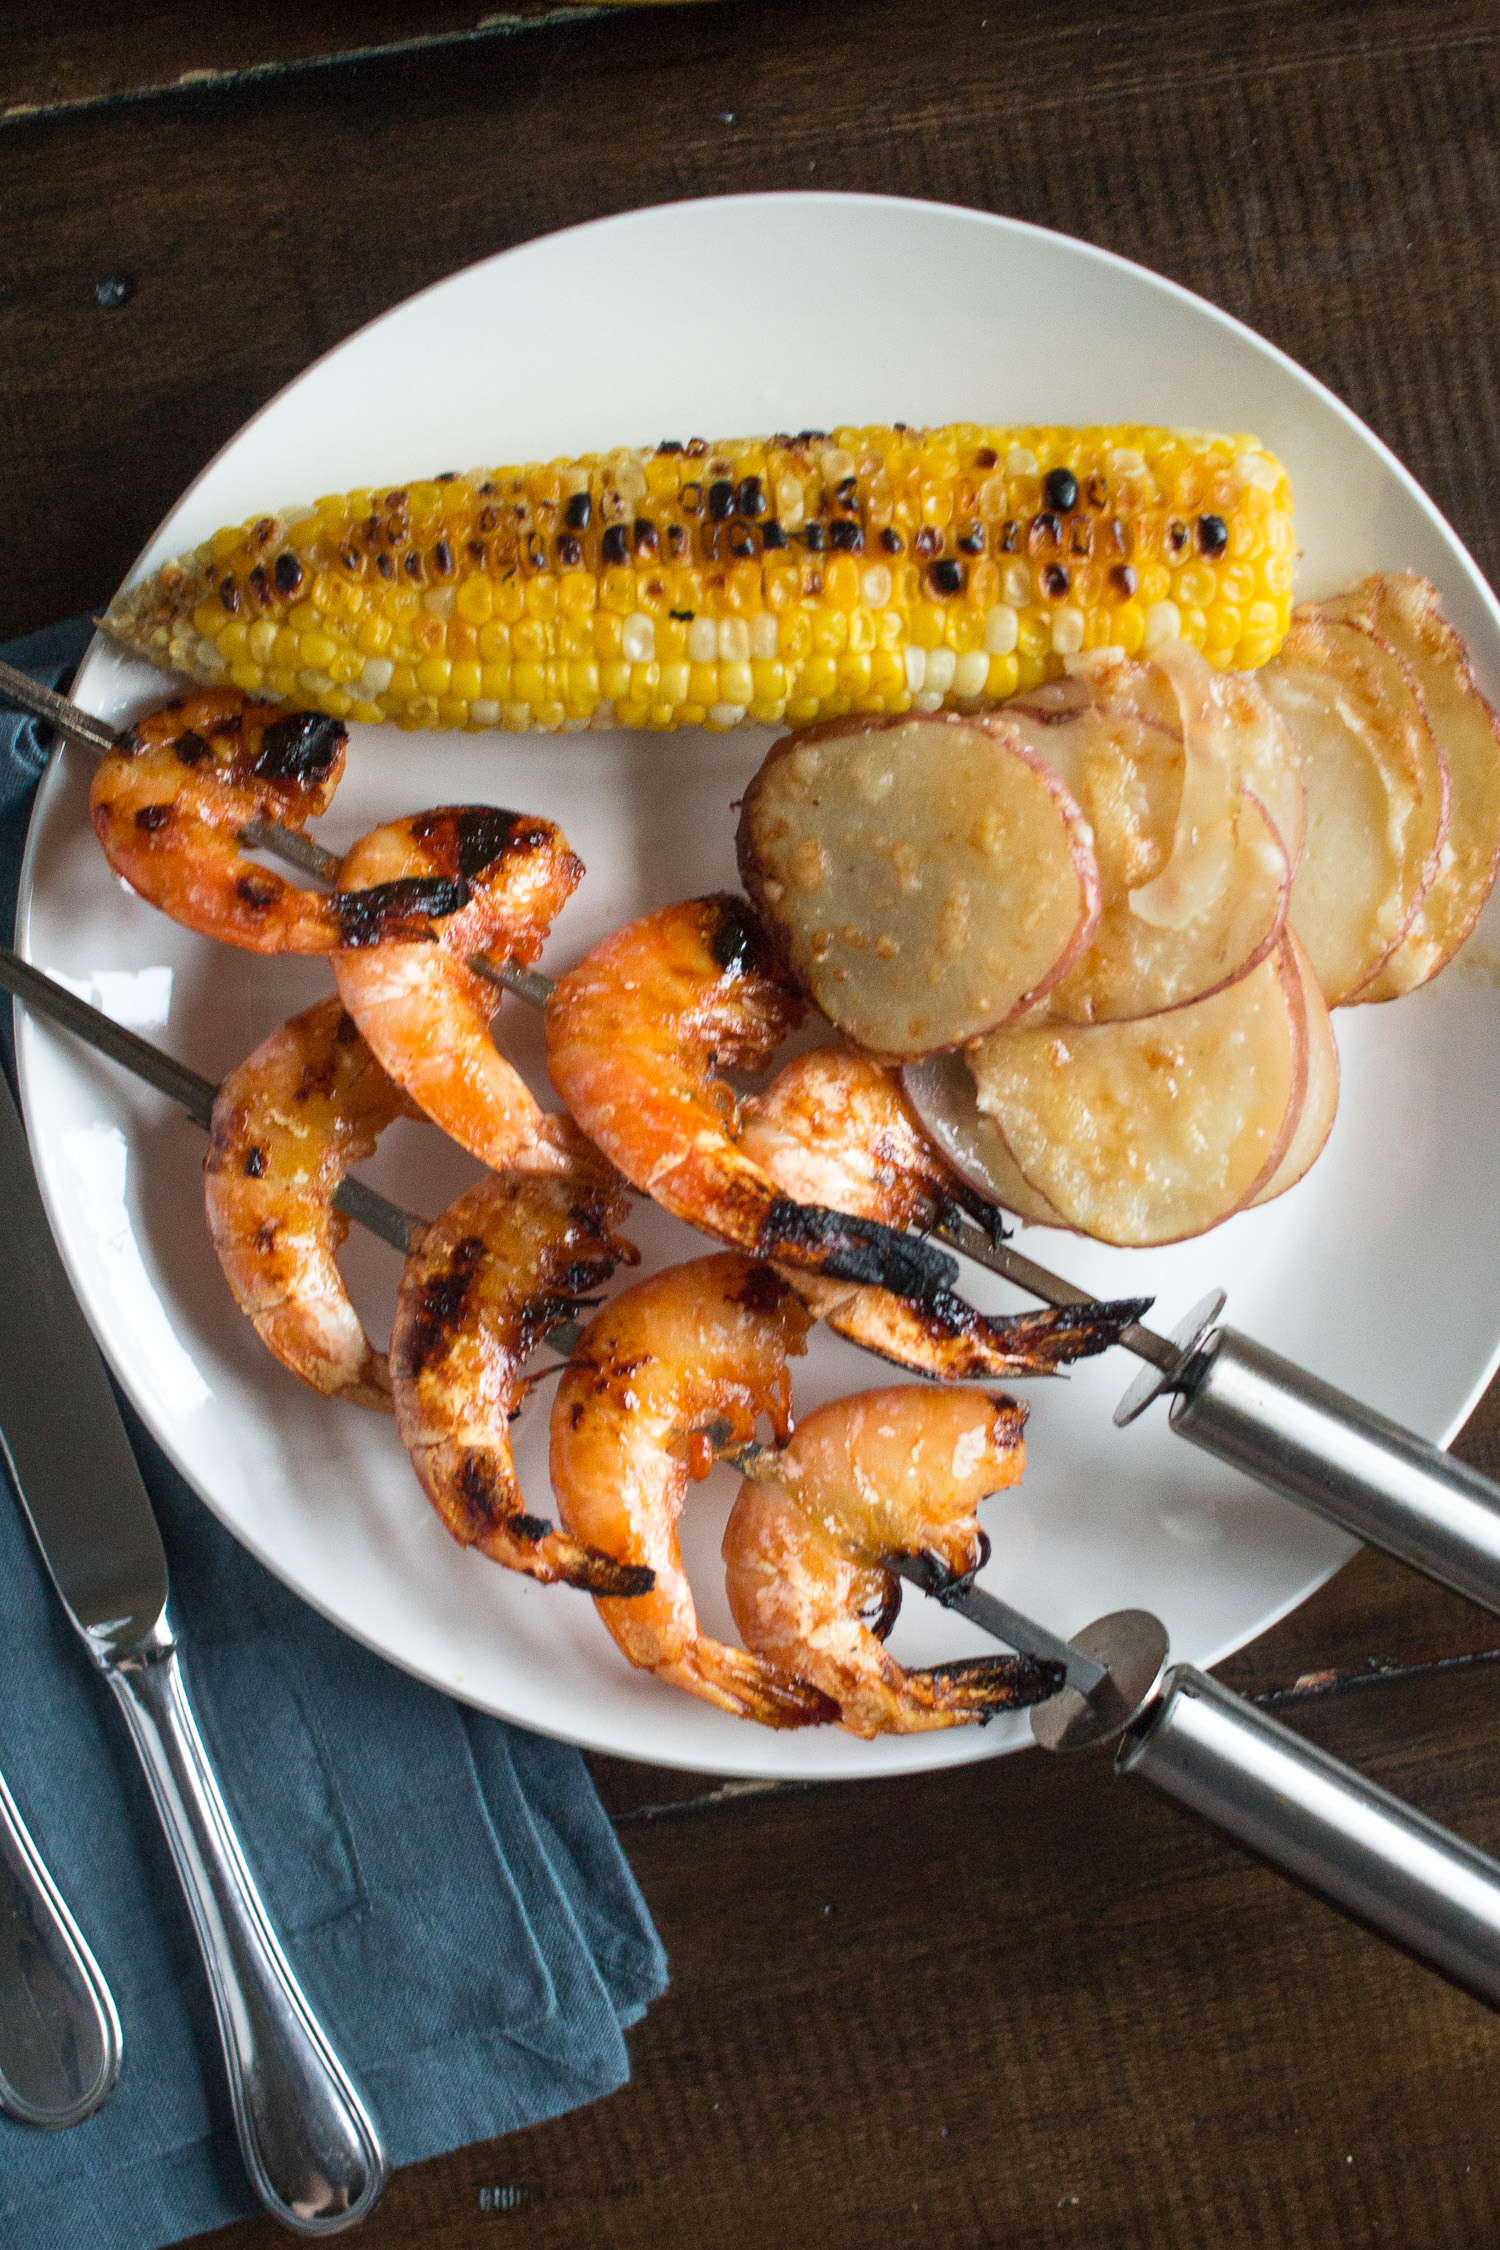
I just learned how to make grilled corn on the cob and it's the best thing ever! This is definitely the easiest way to prepare corn, and I have been making it at least once a week since summer started. One of the benefits of living in the Midwest is that corn is plentiful and incredibly inexpensive. It is so easy to grill along with some meat and potatoes to create a complete meal without needing to turn your stove or oven on. Grilling corn takes 25 minutes, so just keep that in mind since you might need to put it on the grill first.
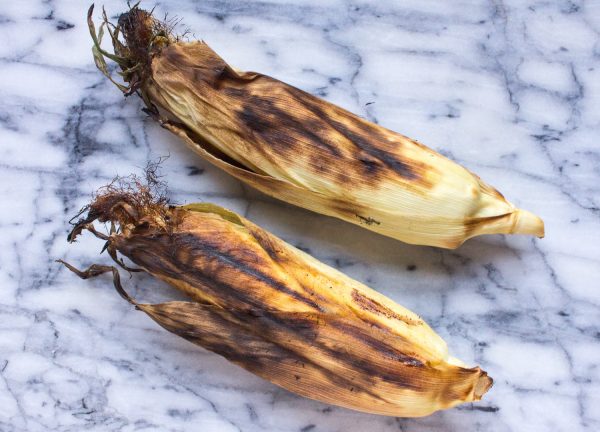
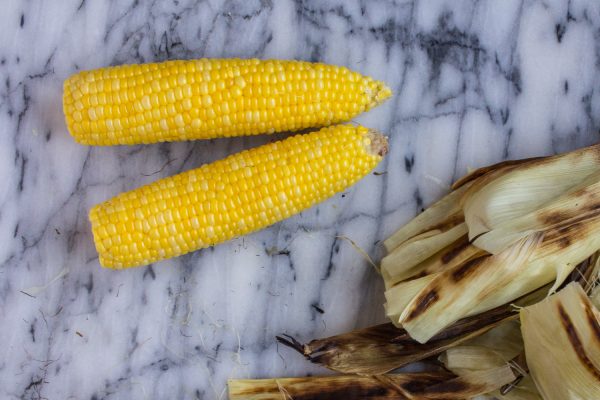
I love how fuss free this recipe is. You just need to throw the corn on a hot grill and give it 25 minutes to cook. Flip it once, give it a few minutes to cool, and then remove the husks.
The big secret to making grilled corn is in how to remove the husks. Do it backward. It may sound weird, but it is the best way to remove the husks along with all of the silky strands that tend to make a mess.
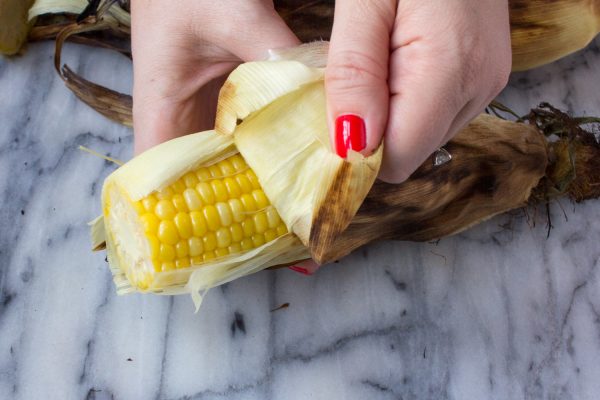
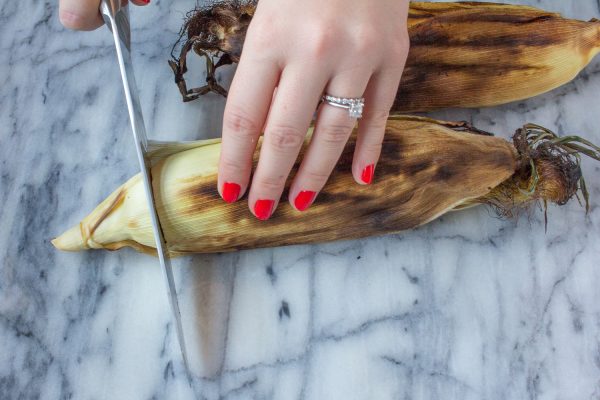
Cut the end off the corn cob, and peel the husks back half way.
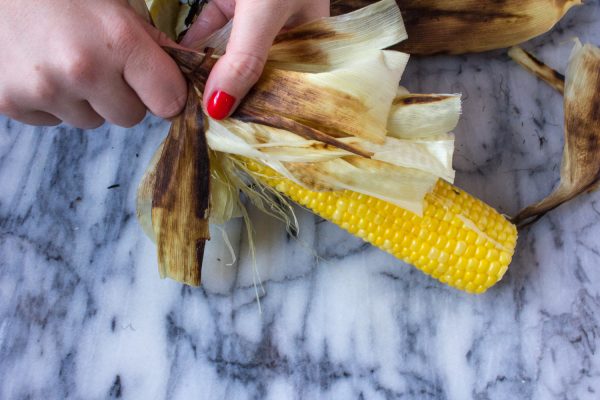
Then move your fingers up to the top of the ear of corn and squeeze the corn out of the husks.
The last step is to top with a bit of butter and salt. If you want to give your corn some grill marks you can throw it on the grill quickly before you add butter and salt.
My parents have had great success with cooking corn, cutting it off the cob, and freezing it for later. They use frozen corn to serve on Thanksgiving, and you would have no idea that it wasn't fresh.

Want to make a corn side dish? This Elote Casserole is a cheesy spicy treat that I made with grilled corn.
Ingredients
- Corn
- Butter
- Salt
Instructions
- Heat your grill to 350-400 degrees. Place the corn - still in the husks - on the grill. Let cook for 12 minutes, then use tongs to flip the corn over. Cook for another 12 minutes.
- Remove the corn from the grill and let it cool for a few minutes, until you can hold it without burning yourself. If you are still not done preparing the rest of your meal, you can keep the corn in the husks until you are ready to eat.
- Use a sharp knife to slice the end off the cob. Then peel the husks back half way. Then move your fingers to the top of the corn, and gently squeeze the corn out of the husk. Remove any silky strands.
- Season with butter and salt, and serve right away.